When I was younger, my Gram used to knit me slippers. I L-O-V-E-D them! When I would start to grow out of the pair I was wearing I would call her up and the next day I would have a new, bigger pair the next day. Gram taught me how to knit, but I never did get the hang of knitting with round needles. I know how, put because of the way I hold my needles it's pretty much impossible for me to do. Now my arthritis is bad enough that I have all but given up on knitting. But due to these handy dandy handles I have picked up crochet. Over the years I have tried and tried to make slippers by looking up patterns and trying to make them. Baby booties seem to be no problem, but when it comes to my own foot...AHHHHH!!! I just want a pair of yarn slipper to reclaim that old feeling of Gram's Slippers. Every time I try though, either I misunderstand the instructions, They don't come out to be the right size, or I just fuck it up to the point of not knowing what I did wrong.
So I made my own pattern.
This was not an easy thing. I toook quite a bit of trial and error...but, I got it! At least for my foot. But I realized something while I was making this pattern. My OCD is a bitch and makes projects take a lot longer than necessary.
So, I am going to share my pattern with you all. For those of you that crochet, it should be easy enough to follow. For those of you who don't crochet, well, you won't understand a bit of it. But I am going to include some special instructions for those of you suffering with OCD.
So here they are:
Slippers
These instructions are for a slipper to fit a size 6-7.
I used yarn that is worsted weight 3 (light) and a size G(6) crochet hook. I used Red Heart TLC Baby Neapolitan.
Things you will need: yarn, hook, stitch marker (if you wish to use one) and a yarn needle
Extra things for OCD ppl: Paper and a pen or row/stitch counter
Ch 2's will NOT count as stitch. They are just there to move on to the next row.
1) Ch 15
Non-OCD: Move on to next step.
OCD: Use pen and paper and write numbers 1-41 on it. This will be used to keep track and cross off rows as they are finished. You know you will be to busy counting stitches to keep track of rows. (You can use a row counter instead if you want. Ch over and over until each ch is uniform and exactly the same size. Do not stop until this is accomplished.
2) Row 1: hdc in 3rd ch from hook; hdc in next 11 ch; 7 hdc in next ch; (Working on underside) hdc in next 11 ch; 5 hdc in last ch; slst to first st. (36)
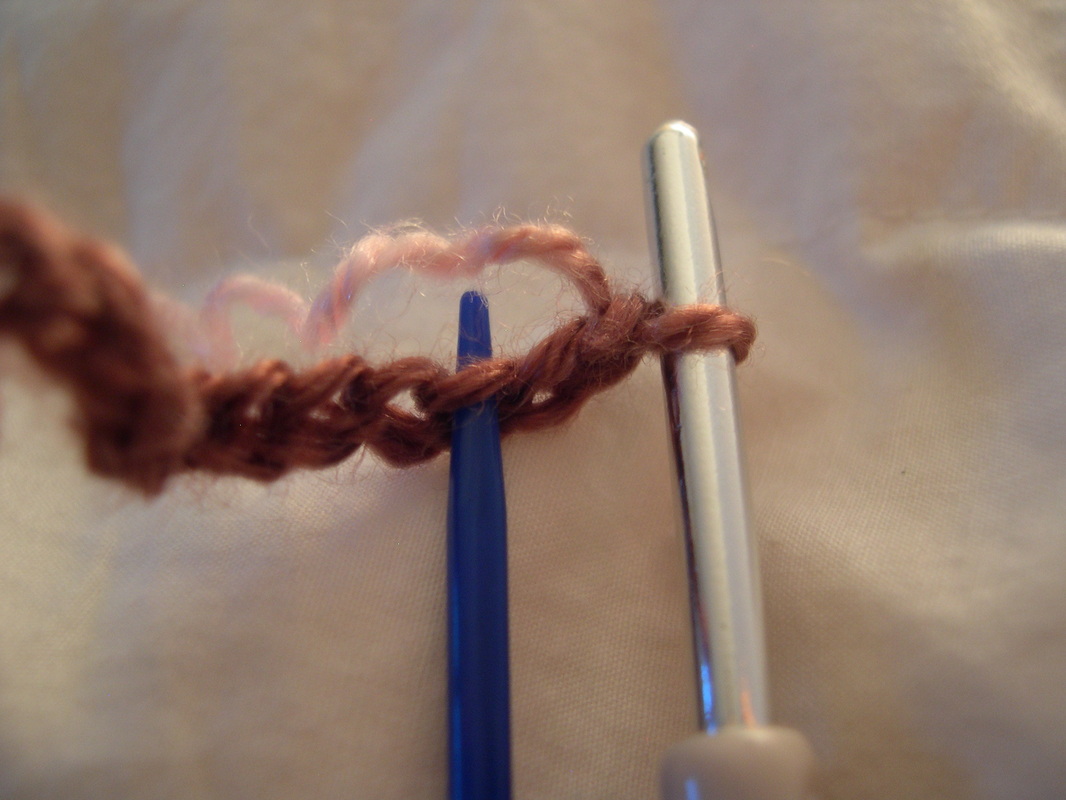
3rd ch from hook
| 
Work on underside
|
Non-ODC: Move on to step 3.
OCDers: Wrack your brain trying to figure out how this is possibly the best way to go when you have 7 st in one side and 5 in the other. Contimplate putting 6 in each side insdeat because that would make it even and settle your brain. Try to let it go and move on to the next step. Trust me here.
3) Row 2: Ch 2; turn; 1 hdc in each st around; slst in first st. (36)
Non-OCD: Move on to next step.
ODC: Count and re-count your stitches to make sure you have 36. I suggest doing this 3 times.
4) Row 3: Ch2; turn; 1 hdc in first 14 st; 2 hdc in next st; 1 hdc in each of next 2 st; 2 hdc in next st; 1 hdc in next 14 st; 2 hdc in next st; 1 hdc in next 2 st; 2 hdc in last st; slst in first st. (40)
Non-OCD: Move on to next step.
OCD: Give up trying to figure out is 6 stitches in each ch (from step 2) is the best way to go and be happy you are at an even 40 st. Re-count 3 times.
5) Row 4-21: Ch 2; turn; hdc in each st around; slst in first st. (These rows will be worked to make rounds.) (40)
Non-OCD: Move on to next step.
OCD: Count and re-count st. Go back every now and then and re-count rows. Just to be sure. (read: becuse you can't help yourself.)
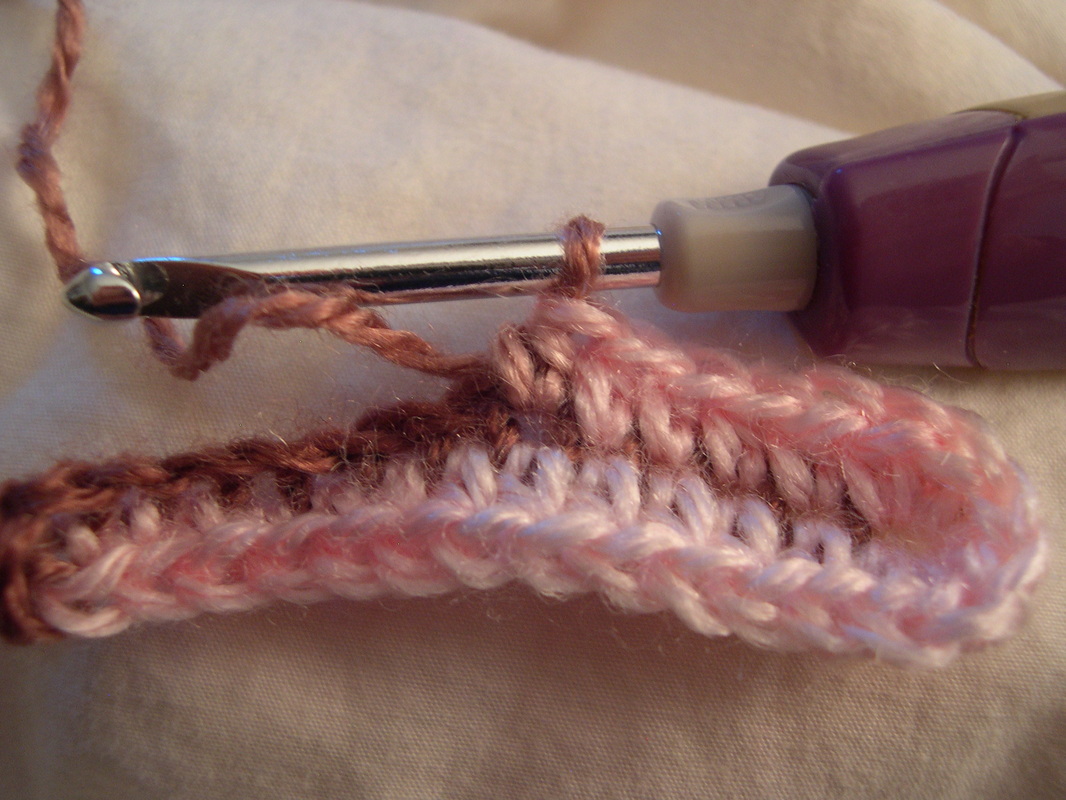
Slst will allow for you to creat a "tube" (Forget about how badly I need a manicure. In fact, forget you even saw my finger here.)
6) Row 22: Ch 1 (don't turn); on inside of work, slst in next 9 st; Ch 2; turn; hdc in each st around. Do NOT slst at end of row. Last st will be in same st as last (9th) inside slst. (40)
Non-OCD: Move on to next step.
OCD: FREAK the hell out because you slst in 9 st and not an even 10. When you finish all 40 sts, freak out again because it doesn't look like you ended row in the middle of the work. Take deep breaths until you calm down. Trust me here. I'm the one who came up with this pattern. It will all work out.
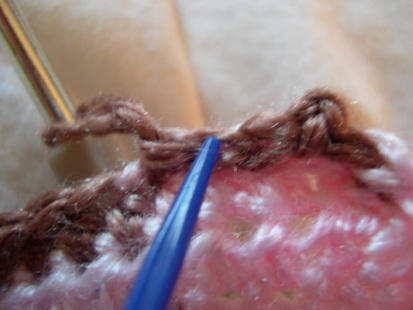
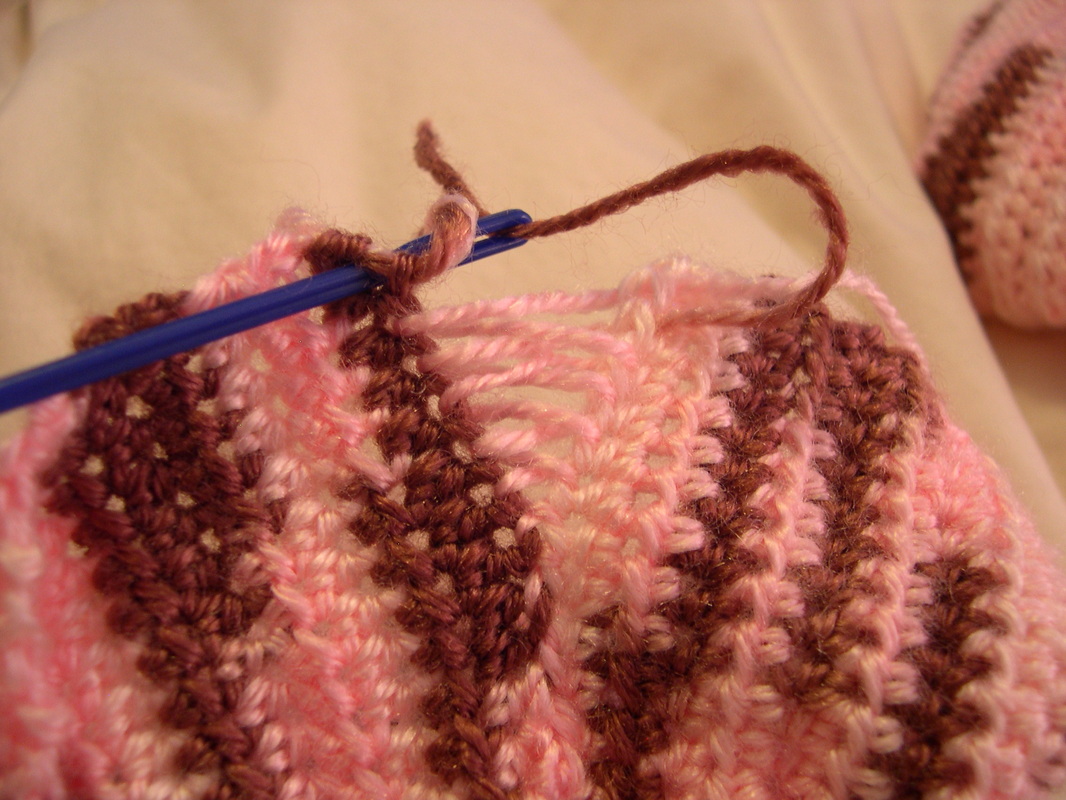
Slst on inside of work. (An even 4 st is pictured here. You're welcome OCDers.)
7) Rows 23-37: Ch 2; turn; hdc in each st. Do not slst at end of each row. (These rows will be worked back and forth to make a "flat" piece.) (40)
Non-OCD: Move on to next step.
OCD: Continue to count and re-count sts/rows because it just doesn't look right when you get to a certain st/row number. Have a drink to help calm down about stopping on an odd row number.
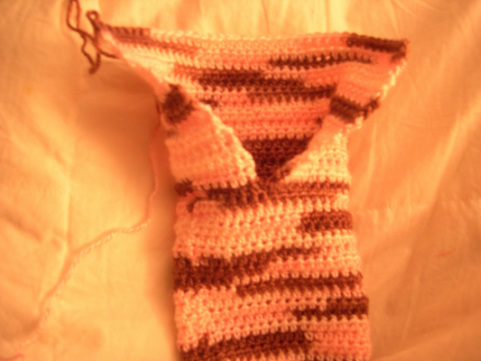
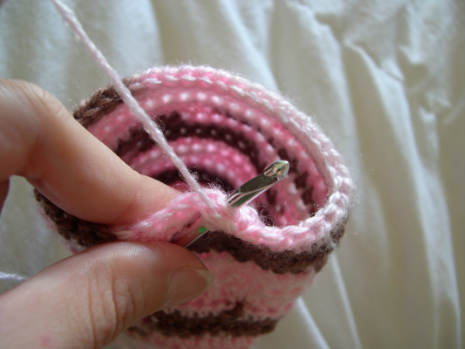
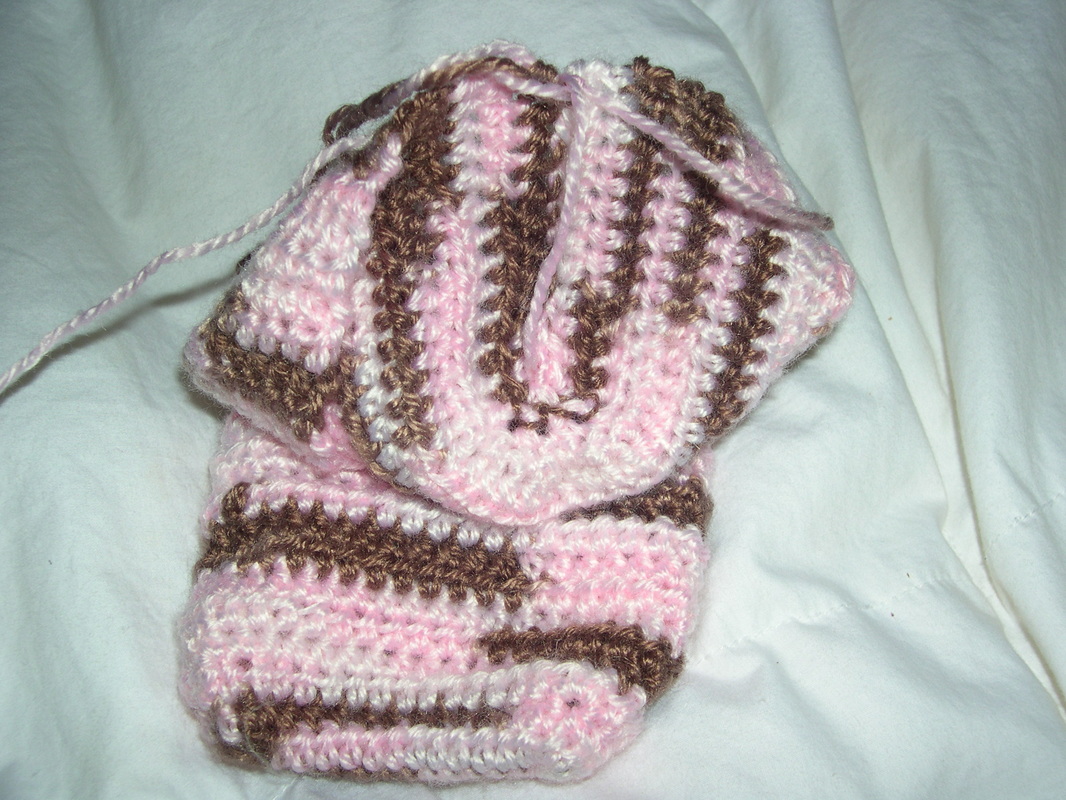
When you finish row 37 your work should look like this. Minus the yellow tint my crappy camera puts in almost every pic.
8) Row 38: Ch 2; turn; hdc in each of first 12 st; s2tog in next 16 st (8s2tog); hdc in each of last 12 st. (32)
Non-OCD: Move on to next step.
OCD: Calm down, this will form the heel of the slipper. And look, it's still even sts.
9) Row 39: Ch 2; turn; hdc in each of first 12 st; s2tog in next 8 st (4 s2tog); hdc in each of last 12 st. (28)
Non-OCD: Move on to next step.
OCD: Go back to counting and re-counting your stitches because you now keep "losing" st from the work folding on you. Pop a Xanax.
10) Row 40: Ch 2; turn; hdc in each of first 12 st; s2tog in next 4 st (2s2tog); hdc in each of last 12 st. (26)
Non-OCD: Move on to next step.
OCD: Wrack your brain trying to figure out if this will actually work to make a heel. Try slipper on before it's finished to help convince yourself that it will fit once completed. Wait for Xanax to kick in.
11) Row 41: Ch 2; turn; hdc in each of first 12 st; s2tog in next 2 st (1 s2tog); hdc in each of last 12 st. Pull loop on hook so it is large and remove hook. Do not fasten off, you will pick this loop up again later. (26)
Non-OCD: Move on to next step.
OCD: Realize all your freaking out was for nothing because now you can see how the heel is formed. Instead freak out because you ended on an odd numbered row. Go take a nap and come back to it later.
Non-OCD: Move on to next step.
OCD: Calm down, this will form the heel of the slipper. And look, it's still even sts.
9) Row 39: Ch 2; turn; hdc in each of first 12 st; s2tog in next 8 st (4 s2tog); hdc in each of last 12 st. (28)
Non-OCD: Move on to next step.
OCD: Go back to counting and re-counting your stitches because you now keep "losing" st from the work folding on you. Pop a Xanax.
10) Row 40: Ch 2; turn; hdc in each of first 12 st; s2tog in next 4 st (2s2tog); hdc in each of last 12 st. (26)
Non-OCD: Move on to next step.
OCD: Wrack your brain trying to figure out if this will actually work to make a heel. Try slipper on before it's finished to help convince yourself that it will fit once completed. Wait for Xanax to kick in.
11) Row 41: Ch 2; turn; hdc in each of first 12 st; s2tog in next 2 st (1 s2tog); hdc in each of last 12 st. Pull loop on hook so it is large and remove hook. Do not fasten off, you will pick this loop up again later. (26)
Non-OCD: Move on to next step.
OCD: Realize all your freaking out was for nothing because now you can see how the heel is formed. Instead freak out because you ended on an odd numbered row. Go take a nap and come back to it later.
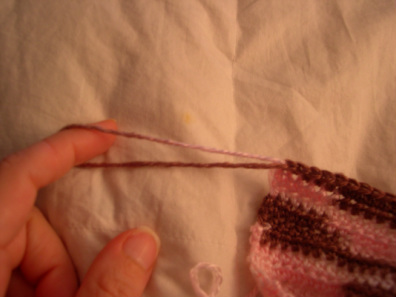
Large loop. You will set this aside for next step.
12) Turn heel inside-out. Working on the inside of the heel, fasten a long, spare piece of yarn to st #13.
Non-OCD: Move on to next step.
OCD: Count and re-count stitches to make sure you have the right stitch and that it is, in fact, in the middle of the work.
Non-OCD: Move on to next step.
OCD: Count and re-count stitches to make sure you have the right stitch and that it is, in fact, in the middle of the work.
Spare piece in 13th st. (Again, forget yellow tint.)
13) Working on the inside of the heel, and using a yarn needle, lace spare yarn to top of slipper (including st that will be completed with long loop) and tie ends together. Trim ends of lacing yarn and sew into slipper or st over them in next step.
Non-OCD: Move on to next step.
OCD: Make sure you pull both ends of yarn evenly so that there is no puckering or scrunching. Then spend half an hour trying to decide whether you want to sew in ends or stitch over them. Weigh the pros and cons of each, make a list if you need to, to figure out which way will make the perfect slipper.
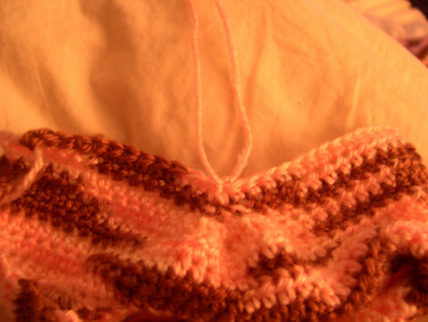
Needle is in st where long loop is at.
| 
Work should look like this after you tie off the ends of spare yarn.
|
14) Pull long loop to shorten and pick up with hook.
Non-OCD: Move on to next step.
OCD: Make sure loop is the proper size and the same as every other loop that has been made so far. Pull and re-pull until you are satisfied with loop size.
15) Ch 2; starting on inside of "foot hole" hdc 40 st around opening of slipper; slst to first st. (You will be working in "rounds" again.) (40)
Non-OCD: Move on to next step.
OCD: Make sure that your first 20 st end in the exact middle of opening. Pull stitces out and re do until you get it to the middle with 20 st. Pray that the next 20 will end you where you started. Cry when it doesn't. Go back to begining of step and do all over again until you get it "right."
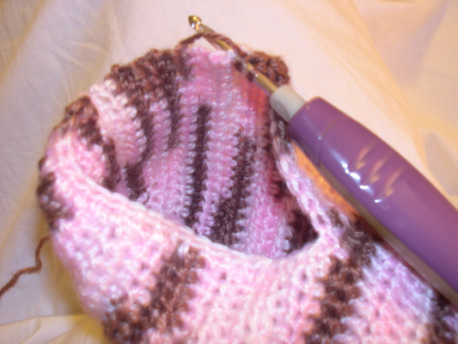
Working on inside of slipper opening. (Shut up, not every pic has a yellow tint.)
16) Ch 2; turn; hdc in each st around;slst to first st. Repeat until you reach desired cuff length. fasten off and sew in end. (40)
Non-OCD: Move on to next step.
OCD: Look at finished product and frog the whole thing when you realize you have been so worried about stitch count that you didn't pay attention to your tention the whole time and 2 st back in row 18 aren't the same exact size. Take another Xanax and try again tomorrow.
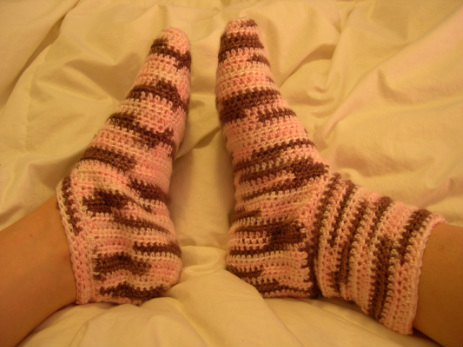
Finished product.
Note: Depending on the size and length of your foot, you may need to add/decrase number of rows in steps 5 and/or 7. Remember to make necessary adjustments to steps 15 and 16 if you do. And don't forget to make 2 of these. (I really wish I didn't have to write that last sentence, but we all know I had to.)
If anyone has any questions about these instructions or any adjustments feel free to contact me by email, in the comments section or on Facebook. I will be happy to assist or clarify anything I can.
If anyone has any questions about these instructions or any adjustments feel free to contact me by email, in the comments section or on Facebook. I will be happy to assist or clarify anything I can.
 RSS Feed
